Saturday, 29 May 2010

On The Bench: Nuns XII


A long session tonight but with not much progress :(

I was not happy at all with one of the faces. It just would not go right. I ended up using nail varnish remover on the face area and cleared that patch back to bare metal!
It was weird seeing a "terminator" style nun for a while.
Anyway, after a bit of scraping and rinsing off I repainted thin black all over, then did the eyes, (which was the major cause for concern), followed by flesh and highlighting.
In the meantime I painted the Magic Blue/Sombre Grey combo and highlighted this on the rest of the gang.
All in all: I'm getting there!

Friday, 28 May 2010

On The Bench: Nuns XI


Forgot to update last night. I tried to have a bit of a sesh to push these nuns closer to the finish line.
The last five now. I've given them a thinned down coat of Black.

TGM TOP TIP: I often undercoat in Chaos Black but even with a spay can at all angles there's always something that doesn't get a complete covering. To ensure that those tricky bits have a black base to begin with I use a thinned down Vallejo Black. I liberally paint this all over the model as it also gives a smoother finish than the "dusty" spray undercoat.

I managed to paint all the flesh parts, the eyes, the make-up and then start the flesh highlights.

I'm working again this weekend - yes that means I was last off work on Sunday 16th May! Only another whole week to go before I get a day off. This means I may not too much done this weekend - we'll see...

Thursday, 27 May 2010

On The Bench: Nuns X


This is the tenth entry for the nun team and oddly enough is the completion of the second batch of five, meaning ten in total completed, (almost a team!).

Tonight, I've just finished the bases with flock and static grass; black washed the silver toe caps, (which I almost forgot!) and matt varnished all over.

I've also uploaded the first stage of the first vampire. Hopefully the beach bum has been replaced by the start of an untamed undead!


Wednesday, 26 May 2010

Fancy a wash?


At my local shop the other day: The Games Vault there was a Roman Day which featured a superb demonstration of a tabletop battle between two Roman armies.
There was a lot of civil unrest in those days but this was not just a clash between two Roman generals. This was a clash of metal versus plastic!

One army was all metal, (looked great but cost a fortune), the other was all plastic, (looked superb but was a fraction of the price).

The plastics came from Warlord and can be bought through The Games Vault and are brilliant value for money.

Both armies were painted to a good "tabletop" standard. The plastics were painted using Army Painter products - which is where my ears pricked up!

To me, this way of painting is like "The Dark Side" but you've got to try and have an open mind about these things, (I suppose). The idea is that very quickly you can have a playable army without the months of painstaking painting. Or having all grey plastic/all black primed ranks, (boring).

After a brief outline of how it all works from Paul of Warwickshire Gamers I rushed downstairs and bought some pink spray; some silver spray; a tin of "dark tone" and very importantly: a tin of matt varnish spray.
Then, just as I'd pulled my card out to pay I spotted a bottle of Vallejo Sepia Wash. Vallejo make my favourite paints so felt I had to buy this as well.

The Army Painter tin cost £18.50 and the Vallejo wash cost £6.00

I also bought a box of Romans and a box of Ancient British. Now was the real clash of the day!

The gonks were both excellent value and easy to make.

The next stage was to spray them in the colour that covers most of the figure, (flesh for the Brits and silver for the Romans).
Once this was dry - about an hour - I painted straight onto this base with a few flat colours leaving the majority of the figure silver, (or flesh).

I then split the forces. Half for the Army Painter Team and half for the Vallejo Team.

Then comes the messy part. Both the Army Painter and the Vallejo products indicate that the gonk should be dipped into the tin/bottle. (The idea being you shake off any excess leaving enough for the recessed parts). This is way too messy and in my opinion a waste of time.

I got two large brushes and painted liberally all over each team. (NOTE: Army Painter is spirit based and needs turps to clean you and the brushes).

Then the long wait. (Well long for the Army Painter - I actually suggest overnight...)

The next day I was left with two halves of the gonks I had made up. One was very, very shiny.

I sprayed both with the Matt Varnish and again waited for drying. (Not long as it happens).

OK.

The Gonk Machine Verdict.
If I was to be painting either a massed barbarian horde or legions of Romans then both the coloured sprays worked well. There was no need to have another primer like Citadel Chaos Black which I use all the time.
Using these sprays would really save a lot of time as long as there was total coverage without any plastic showing.

Painting red or flesh over the silver spray was a bit of a pain but with big armies you're not looking for complete perfection , (spend more tome on your characters!).

The Army Painter tin was horrible to use. It was sticky and seemed to get everywhere. I also had to use white spirit to wash the brush out with. This means that I can only use this brush for spirit based paints and will shorten the brushes lifespan considerable.
When the figures were dry, the shine from the army painter was so reflective that it hurt my eyes!

Vallejo dried very quickly and matt.

The matt spray was good and as I will always matt varnish a gonk it saved some time.

In short: Vallejo wins the day, with a bit of help from The coloured Army Painter spray. (Also it was a third of the price!).

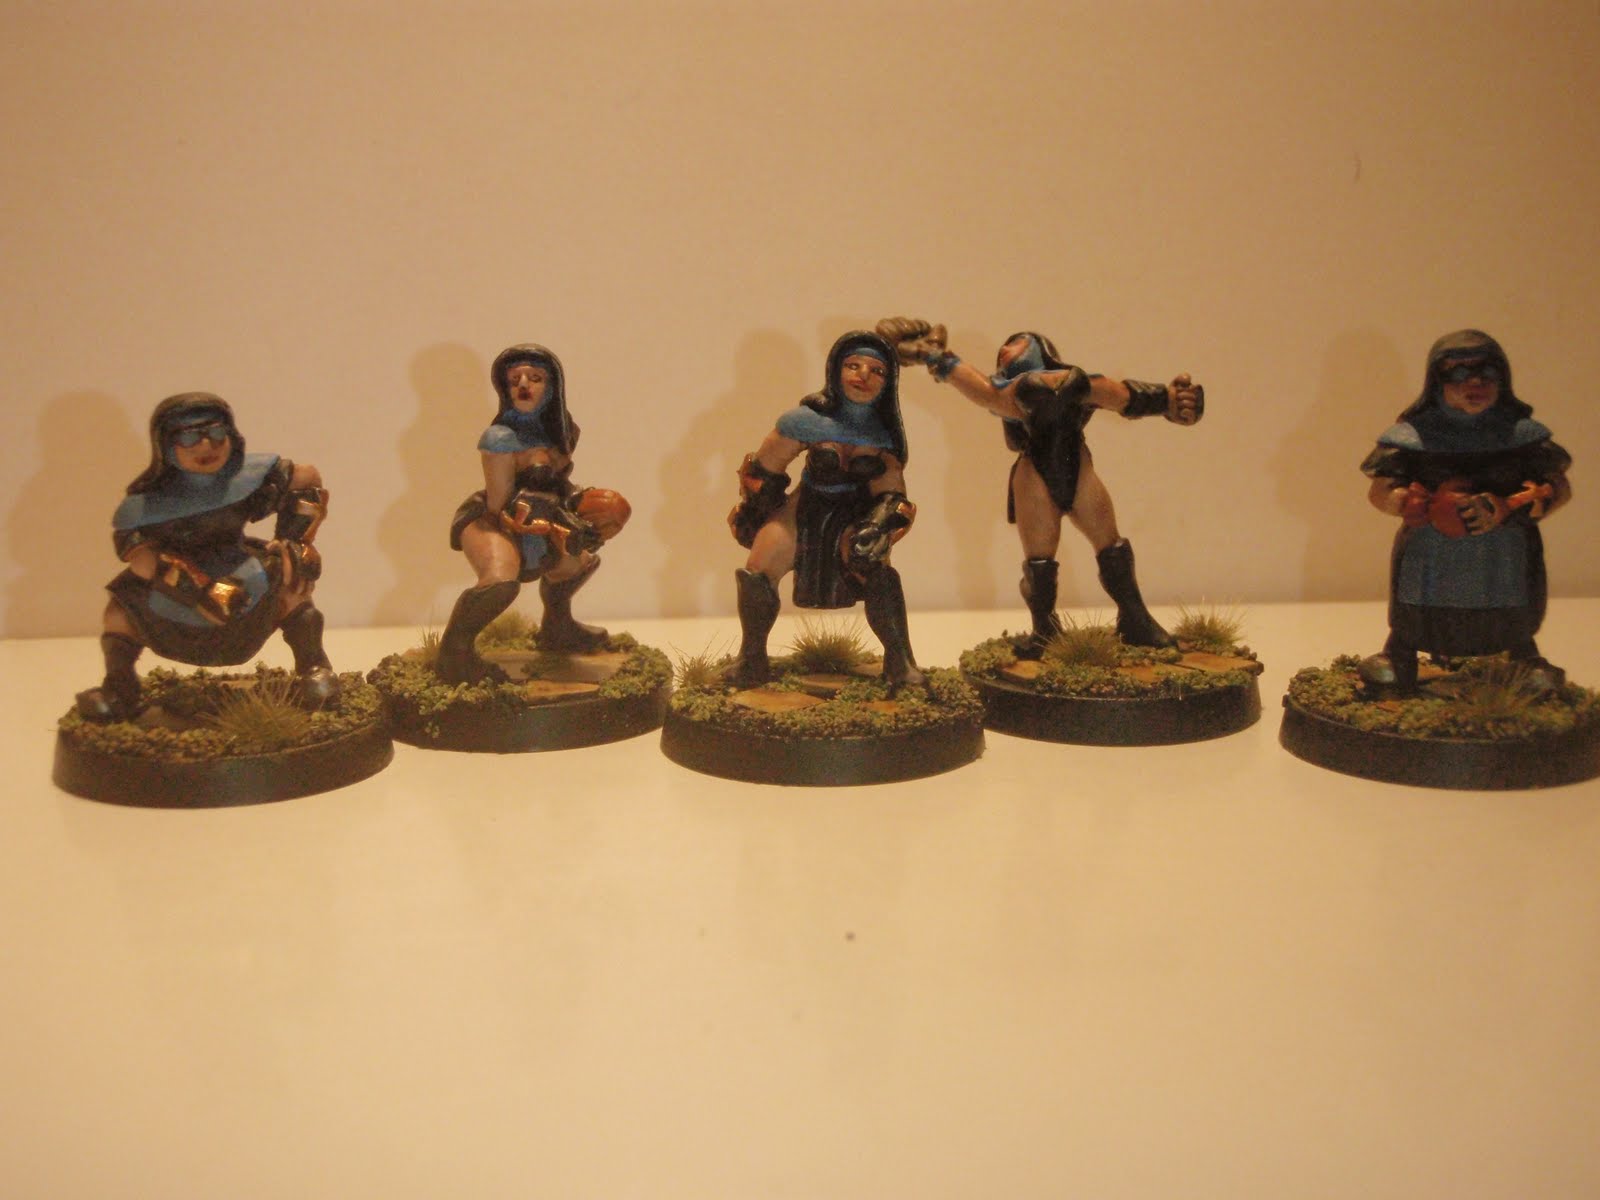
There were two Brits and one Roman for each team. (Left or right in the photos).

You decide which worked better.


On The Bench: Nuns IX


Back at last from a work away weekend. No gonking at all for four days!

So, managed to add the gold colour with a wash onto the gloves and started the flagstone bases. The Sepia Wash I've used as a darker colour to add "depth" to the flagstones has taken an age to dry therefore have not glued flock and grass yet.

I did start a "bestial vampire" though - just for kicks. (Picture to follow).
I wanted to carry the blue/grey theme across from the nuns so did a base colour of Magic Blue on the shorts/ripped trousers and then painted Tallern Flesh over the body and wings. The trouble was this produced a sun tanned surfer look rather than Lord of the Undead.

I had to act quickly: no half way photos.
Whilst the pink was drying I dry brushed Elf Flesh for an immediate contrast then used the Sepia Wash quickly followed by a heavily glazed grey.

As this was all wet I blended and fiddled until I was fairly happy with the look. It's still drying but will photograph tomorrow...

...If it still looks OK.

Thursday, 20 May 2010

On The Bench: Nuns VIII


It looks like there's been almost no progress but...

I had to correct some of the flesh that I'd gone over in black, (a BIG mistake), and then I've used a mix of Sombre Grey and Black with a Medium Glaze to hilight the black folds in the habit.

TGM TOP TIP: Glaze is used to slow the drying process of the paint so that it makes blending of colours much easier. This means that there should be no distinct lines between colours. If you use a lot of glaze then the paint becomes transparent, (almost), and can be used to block highlight. (Like on the nun's habit). I will use Vallejo Medium Glaze to work with several colours at a time but more of that when I'm onto the vampires!

The "glazed" parts look slightly shiny at the moment but this will be dulled down with the Matt Varnish later on. This also takes longer to dry between coats so it's time to stop and wait for another session.

Tuesday, 18 May 2010

On The Bench: Nuns VII


Missed updating the blog last night - too tired.

Managed to get the blue/grey sorted on the habits. I then did the flesh wash to exaggerate the facial features and curvy bits.

TGM TOP TIP: When painting at this scale it is really a good idea to do bold shading. This makes it much more pleasing on the eye when the miniature is on the tabletop, some distance away.

Finally, last night I touched up the black parts of the habit in readiness for the black/grey highlights. Unfortunately, I was tired and I slipped a couple of times meaning I've got to go over some flesh again, yes - and highlight and wash once more :(

Never mind, it's worth doing properly.


Monday, 17 May 2010

On The Bench: Nuns VI


Another hectic weekend as usual. It goes too quickly. I've been getting excited about Romans and Celts but musn't get distracted...

Managed to get the base coats onto the next five nuns, (this is the second of three). All I need to do on these are: flesh wash; flesh hilight; black touch up; black highlight; grey/blue over the Magic Blue; grey highlight; gold crosses; gold wash and bases.

So, not too bad then.

Friday, 14 May 2010

On The Bench: Nuns V


Another short session tonight. (This time I took #1 son to a talk at The Games Vault on Roman military tactics and weapons - very interesting and FREE!)

I decided to finish off the first five nuns on the vampire/nun team as there wasn't much to do and once these are done then I've got a plan for the rest of the nuns.

TGM TOP TIP: Always keep a notepad and pencil near to your painting area. Jot down ideas for other figures, bases and themes. I log the colours I've used and the ratio of paint used if it's mixed. You never know when you'll have to do another unit or team members which will have to look like they belong. It's very tricky to remember these things in a couple of month's time!

I mixed a small amount of Sombre Grey with Black, added a drop or two of glaze and then just touched up the higher fold in the clothing.
This takes a little while to dry but because of the glaze it blends in better with the surrounding base colour, (Black in this case).

When this was completely dry I used Sombre Grey to paint the edge of the clothing. This defines the edges and is an exaggerated hi-light but works well on a small figure on a large table/board.
To do this I wiped most of the paint off and used the edge of the bristles rather than the tip and "scraped" the brush at 90 degrees to the area I wanted to cover.

The final stage was the base. I'd already stuck down what I wanted on the base, (mostly), during the preparation. I cut up plasticard squares and glued these and sand on with PVA.

TGM TOP TIP: I always prepare the base at the start for two reasons. 1) When I spray an undercoat onto the figure the base gets undercoated and will save time later and 2) I hate the idea of having a great paint job done only to be spoilt be dabs of glue and black paint, (thin black paint would be used to seem into the recessed areas of the sand etc to make shadows and add depth).

As the base was undercoated black, (see above), I just dry brushed the sand with Leather Brown and Bleached Bone. Then painted the "plasticard paving slabs" with the same colours making a "riven paved" look.
When this was dry I added a few darker patches with Sepia Wash which seemed to work well.

Again, after a short drying time, (be patient - don't smudge wet paint), I painted Matt Varnish over the whole figure. This seals everything in and as I know these will be game pieces rather than display it helps prevent chips in the paint when the figures are dropped.

Lastly, I added two sorts of grass/green flock to add variety.

TGM TOP TIP: Use grass and flock sparingly. Less is much better. I always dry brush a couple of colours before adding flock or grass so that there is no need to smother the base with unnatural looking greenery.

There, first five nuns done! Only ten more and four character vampires to go ;)


Thursday, 13 May 2010

On The Bench: Nuns IV


Short session tonight, having been to the skate park with #2 son and then watched "Fantastic Mr Fox" but have got to a nice stage with the first five nuns.

TGM TOP TIP: If I'm painting a team or army using the same swatch of colours, (no special characters), I tend to do these in fives or sixes. I'll paint all of the gonks using one colour before starting the next colour. This way the paint is dry on the first figure as I'm finishing the last.

So, I've added the two blues as described yesterday; tidied up the black, (which makes up most of the clothing), then painted on Bright Bronze and Chainmail to the "crucifix gauntlet" and steel caps.

TGM TOP TIP: I use a separate brushes and water for metallic paint as it tends to stay in the bristles and will then come out onto other colours. To identify these brushes I dip the top into silver so that it's easily identifiable.

Suddenly, the figures look alive and playable!

I'll give the metal colours a "wash" and then let them dry overnight. (Badab Black on the silver and Baal Red on the bronze).

I get all my supplies at The Games Vault including Games Workshop washes, Vallejo paint and Rotmarder-Kolinsky brushes, (these are triangular rather than round and are really comfy to hold, especially into the small hours...)

The first gonks in a team like these nuns always takes the longest as I'll play with colours and shades. Once I know what works and have written down what I've done and in what order the rest are not normally a problem.

Tuesday, 11 May 2010

On The Bench: Nuns III


OK. So the basic colours are there. (Nuns being mostly black).
It is time to try out a bit of colour.

This is a Blood Bowl team and not typical devout nuns.

The flesh has been painted again with Tallern Flesh mixed liberally with Vallejo Pale Flesh leaving an edge of the original colour showing.
I have painted the eyes white and then added a pupil. (Nice small brush here). These gonks are going to be played with and not kept in a cupboard so they don't need a coloured iris).

Make up, (yes - it's Blood Bowl), is painted onto the lips and eyelids and then all the flesh is given a thinned down wash of Ogryn Flesh Wash. (I use more "wash" in the shadow areas like the back of the knee and of course the cleavage).

TGM TOP TIP: Games Workshop "washes" are great but complete an area before moving on in case it dries too quickly and a weird line is left on the edge of the wash. I try and do whole limbs at a time before going onto the next area and make sure it is dry before using another coat.

Now, I want to add a bit of colour to the habit especially as I am going to link in the vampires later. White doesn't do it for me.
So, first I tried a Vallejo Magic Blue, but this is too bright and stands out too much.

Then I mixed Sombre Grey with the Magic Blue and painted this over the top, leaving some of the blue in the folds.
I think this works and the figure is less stark.

Now, I've played with the colours I've made a note of what I've done and am ready to crack on.

On The Bench: Nuns II


Blood Bowl Nuns.
I have painted all the flesh parts with two layers of thinned Tallern Flesh, (this is a "Foundation" paint which is highly pigmented so I can paint it over dark colours - like black. The trouble is that it is very thick and gloopy and will become like textured paint unless thinned).

At the moment I am not too worried about going over the other details as I'll tidy up later. Right now I just want a nice even colour to use as a base.

Tallern Flesh is too dark for these nuns but makes a great starting place.

TGM TOP TIP: I use Vallejo Thinner with nearly all paint colours. It is better to use several thin coats, (making sure they're dry between coats), than one thick coat.

On The Bench: Nuns I


Blood Bowl Nuns.
These will be a complete nun team but will also play as thralls in a vampire team. (I think it's a great idea).

These have all been washed in warm soapy water, filed, scraped, glued, based and undercoated with GW Chaos Black.

Monday, 10 May 2010

Jungle Predator


I was looking through some older pics and thought this one looked interesting. I hope you like it too...

I wanted the alien to become part of the background except for the eyes which I tried to make as bright as possible.

Sunday, 9 May 2010

D&D Gonk for "Steve's mate"


I had a weird request from Steve at The Games Vault who's "mate" wanted a character painted for his D&D game.

Strangely, Steve knew
exactly how the figure should look, even how the scar was gained fighting vampires in the Old World. (Also that the character came from a desert area and should be darker skinned than normal...)

This is a Games Workshop Warhammer Priest with his "Sigmar" sign file from his head!

The scar was first cut with a scalpel and then "green stuffed" to make it more pronounced.

Anyway, Steve, (I mean his "friend" was pleased with the result).

Nuns on the run - from vampires?


With the HUGE interest in all things Blood Bowl recently I've had commissions for several teams.
(Also in the process of making myself a new team).

I've recently finished a human team from Neomics in Germany, (a few snapshot here).


On the bench is a Vampire team using nuns as thralls!

The Vampire/nun team has been washed in warm soapy water, rinsed, scraped, filed, pinned; stuck on bases; decorated the bases and now undercoated - in black as usual!
Painting will start in earnest tonight...

Wednesday, 5 May 2010